A steady, well-angled phone looks more professional than a pricier camera used badly. The trick isn’t exotic gear. It’s simple geometry, a clamp that never drifts, and a stand that moves in predictable ways so you can set the shot once and forget it. When the phone’s weight sits over the pivot, the head resists sag, and your quick-release drops the device into the same spot every time, framing becomes muscle memory. You stop chasing horizons and wrestling with wobble. You start every call, demo, recipe, or recording with confidence because the picture looks exactly how you meant it to, in portrait or landscape, desk or kitchen, home or hotel.
Start with geometry that keeps mass over the pivot
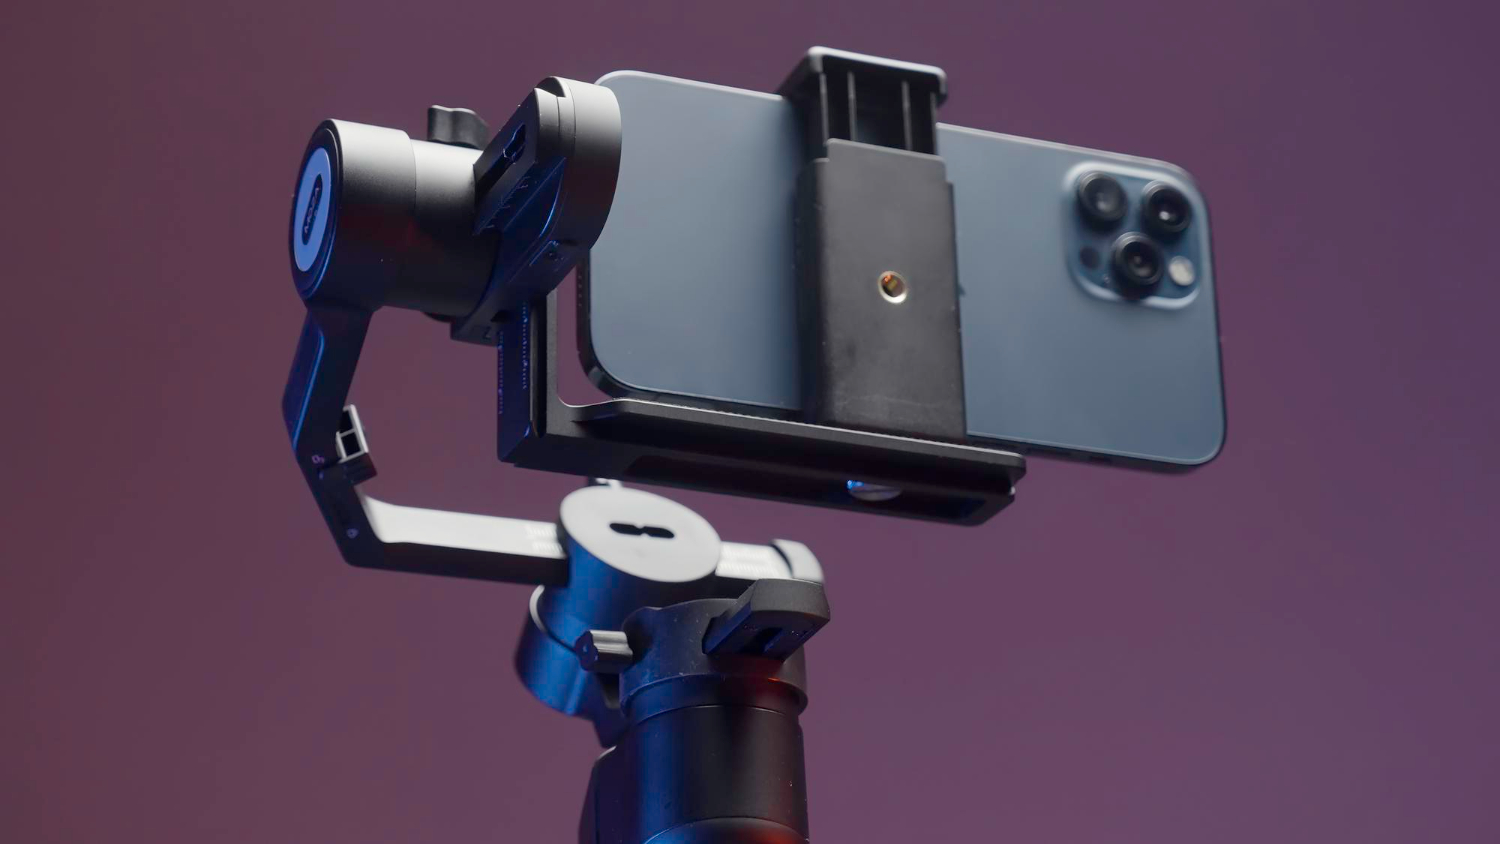
Stability is a physics problem before it’s a gear problem. A phone mounted far in front of a loose ball head acts like a lever and slowly droops. Put the center of gravity directly over the tilt axis and that leverage disappears. Center the clamp on the head, seat the phone so the camera bump is close to the pivot, and extend stands from their thicker, lower sections first so the structure flexes less. Keep the column as vertical as the shot allows; a straight stack transmits fewer vibrations than an angled tower. If you need reach for an overhead view, balance it with a short counterweight at the base or along the arm so the boom isn’t forever trying to fall. When you touch the screen, plant one finger on the clamp and tap lightly with another; you’ll halve visible shake by giving the system a momentary brace. These tiny choices calm the picture before you even tighten a knob.
Choose clamps that hold: magnets for speed, jaws for certainty
A good mount is the difference between a quick start and a fussy one. Magnetic systems feel magical because they snap into alignment and rotate cleanly between portrait and landscape. For desk calls and light touches, a quality MagSafe-compatible puck on a rigid head is hard to beat. If you record overhead, move a lot, or attach accessories, a mechanical clamp with rubberized jaws and a positive lock is the safer anchor. The happiest middle ground combines both: magnets life hack the phone to center, the jaws take the load, and your framing survives taps and cable tugging. Set the clamp width once for your case so the phone slides to a firm stop without squeezing buttons. A broad backplate spreads pressure and prevents accidental power or volume presses. When the clamp and head are matched to the phone’s weight, you tighten with two fingers, not a grimace, and the angle stays exactly where you left it.
Standardize the interface so setup takes seconds
Speed comes from sameness. Put the same quick-release standard on every support you use—desk arm, tripod, travel mini—so the phone clamp lives on a plate that clicks into all of them without rethreading. An Arca-type lever clamp or a compact shoe with a positive latch is ideal because it gives you a tactile “locked” cue while you look at the frame, not at the hardware. Leave the plate on the clamp full time and keep one spare in your bag; a missing plate is the only small part that can stall an otherwise perfect kit. If you switch between stands in different rooms, mark a preferred height on the column and a reference angle on the head with a tiny dot; you’ll drop into your “home frame” by feel, not by trial and error. The more identical each mounting step is across locations, the less you think about rigging and the more you think about what’s in front of the lens.
Dial in angles that flatter and stay true
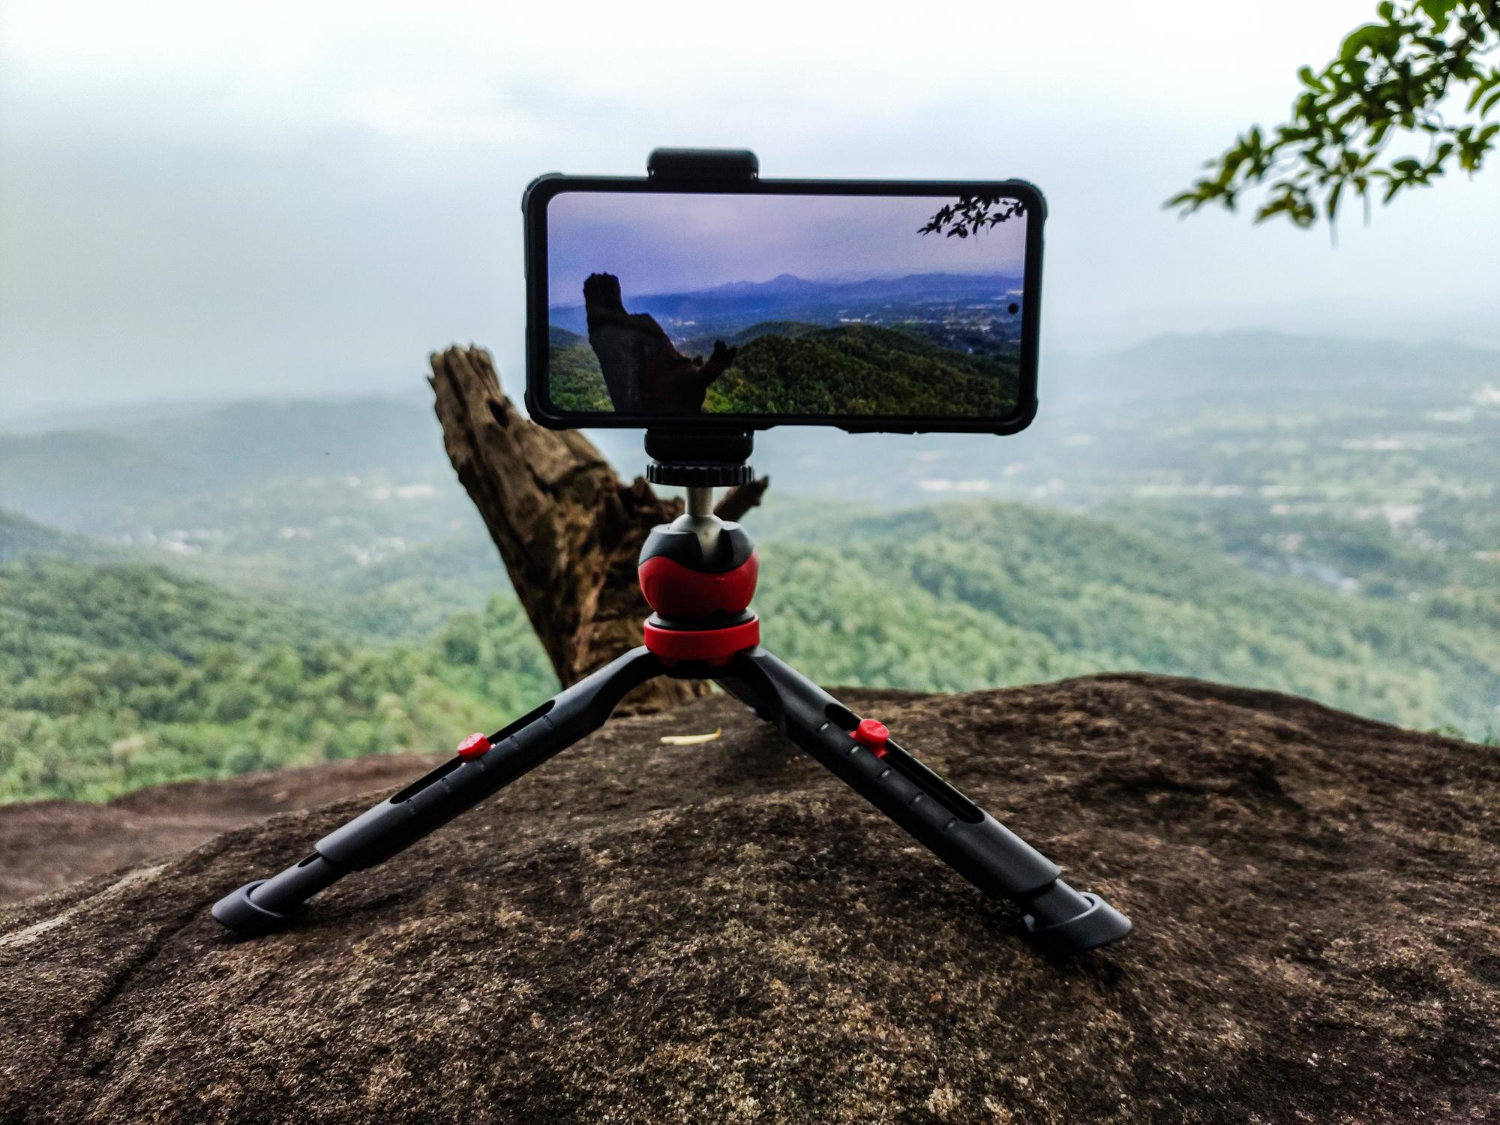
Your best angle is predictable once you decide on three things: eye line, tilt, and distance. Set the lens slightly above your eye level and tilt down a few degrees; faces look natural, necks relax, and ceilings vanish. In portrait, place your eyes near the top third of the frame with a fist of space above your head; in landscape, keep your chin just above the lower third so gestures don’t fall out of view. Use the head’s independent pan to square the horizon to a shelf or doorframe rather than twisting the whole stand; that keeps level true when you nudge tilt. For overhead shots, reach from a stable column rather than leaning a tall stand and keep the phone’s long side perpendicular to the work surface to minimize distortion. Lock focus and exposure on your subject so the picture doesn’t breathe when your hands enter the frame. A consistent geometry paired with a head that moves in single axes turns “get the angle right” into two quick motions you do without thinking.
Place the stand like a pro so small rooms don’t shake your shot
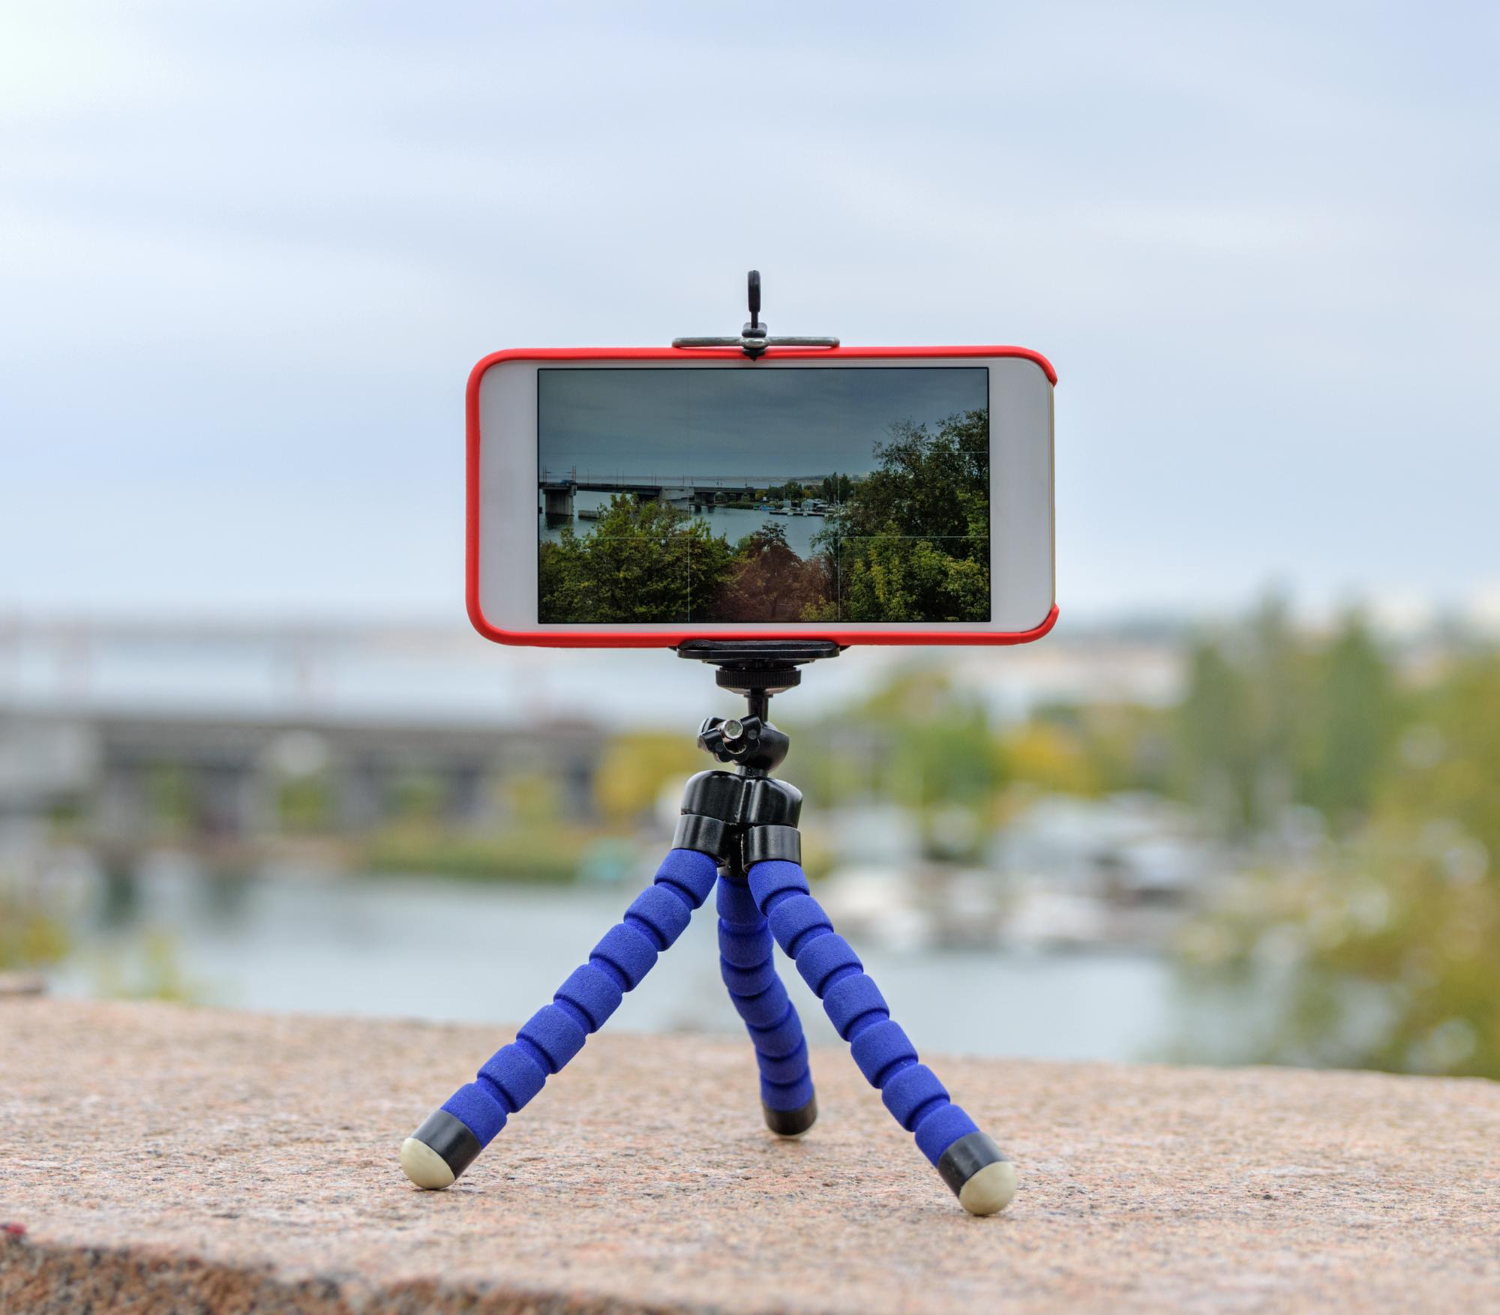
Surfaces and surroundings affect stability as much as the hardware. A clamp-on arm bolted to solid wood or metal carries far less wobble than a freestanding base on a thin, springy tabletop. If your desk flexes when you type, give the camera its own island by moving the stand to a shelf or side table, or put a firm board under the base to decouple it from bounce. In kitchens, avoid balancing on cutting boards or the lip of a sink; clamp to the counter and extend a short horizontal boom instead so bumps don’t ripple into frame. On travel tables, keep the center column low and spread the legs wide; height should come from the stand’s structure, not from stacking books. Rubber feet with a clean, grippy surface stop micro-walks across varnished wood. A level head on a shaky base is still a shaky picture, so fix the ground first and the rest of the setup falls into place.
Power, touch, and a one-minute preflight that makes framing automatic
Cables can spoil a frame slowly by tugging the phone off axis. Loop the charging cable once around the stand and clip it so the connector feels no side load; if you must charge while filming, use a short, flexible lead that doesn’t act like a spring. Heat from wireless charging can soften plastics and loosen friction; prefer a cable for long recordings so tension settings stay stable. Before you go live, run a sixty-second preflight. Seat the clamp with a positive click, tap to focus, and lock exposure. Check level against a straight line in the room or your app’s horizon life hack. Nudge tilt to place eyes or hands where you want them and adjust distance until the frame feels calm, not cramped. Touch the screen once and watch for ripples; if you see any, add a quarter turn of tension or straighten one joint to reduce flex. Save these settings as your mental default. Tomorrow they’ll take thirty seconds because the moves are the same and the gear behaves the way it did today.